How to Build a Slow-Release Wine Bottle Watering System for Herbs
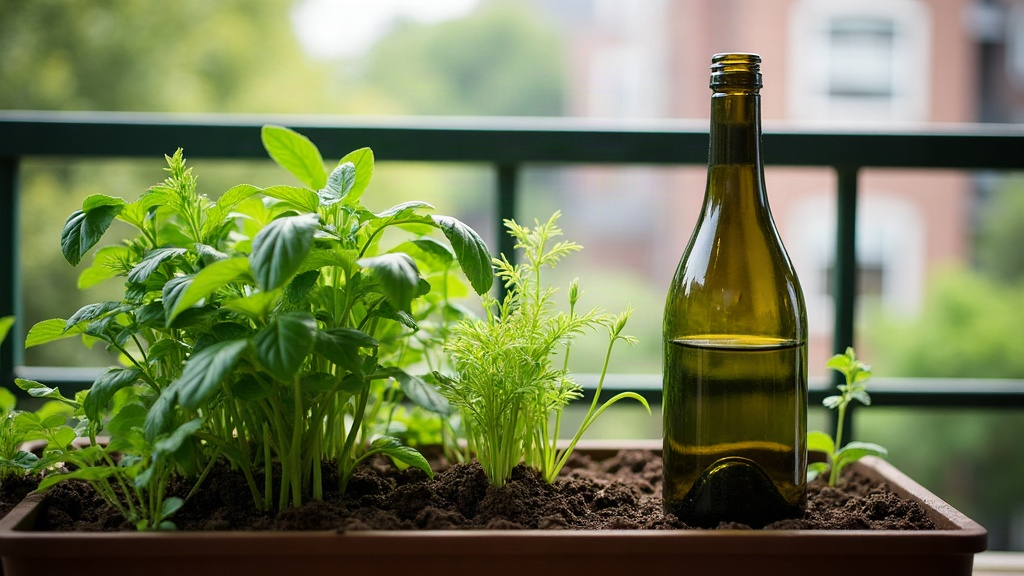
If you love fresh herbs on your balcony but hate coming home to wilted basil after a hot weekend away, a slow-release wine bottle watering system is the easiest fix. Invert a water-filled wine bottle into the soil and you’ve got a simple drip mechanism that keeps herbs hydrated for days, no electricity, no timers, no pricey drip kits required. Here’s exactly how to build one, using bottles you probably already have sitting in the recycling bin.
Why Wine Bottles Work So Well for Watering
Wine bottles are almost perfectly designed for DIY irrigation, honestly. It comes down to shape and glass thickness:
- Narrow neck creates natural pressure control, so water drips instead of gushing out.
- Thick glass won’t crack easily when buried in soil (unlike thin plastic, which tends to split under pressure from packed dirt).
- Standard 750ml size holds enough water to sustain small-to-medium herb pots for 3 to 7 days, depending on heat and pot size.
- Free and reusable. No need to buy special ollas or ceramic spikes from a garden shop.
This trick is really just a riff on terracotta olla irrigation, something farmers have used for centuries. Wine bottles just make the same idea accessible to anyone with a bottle or two lying around after dinner.
What You’ll Need
- 1-2 empty wine bottles per pot (depending on pot size)
- A drill with a small masonry or glass bit (1.5-3mm), or a simple cork with a small hole punched through it
- Water
- Potting soil and your herb pots
- Optional: a small piece of mesh or cotton cloth to stop soil from clogging the neck
Step-by-Step: Building the System
1. Prepare the Bottle
Want controlled dripping instead of relying on the neck alone? Drill 1 to 3 small holes near the bottom of the bottle (this becomes the “top” once you flip it) or through a cork stopper. One tiny hole is usually plenty for herbs like basil, mint, or thyme.
Tip: No drill? Skip this step entirely. Plenty of gardeners just invert the bottle as-is. The narrow neck alone restricts flow enough for slow seepage into the soil.
2. Fill With Water
Fill the bottle all the way to the top. Cover the opening with your thumb or a scrap of mesh so soil doesn’t get sucked in the moment you flip it over.
3. Insert Into the Pot
- Dig a hole in the soil about 4 to 6 inches deep, angled slightly away from the plant’s main stem (this keeps the base from staying too wet and rotting).
- Push the bottle in neck-down, until roughly a third of it is buried.
- Pack soil firmly around the neck so it stands upright without wobbling.
4. Position for Your Herb Type
- Shallow-rooted herbs (basil, cilantro, parsley): bury the neck 3-4 inches deep.
- Deeper-rooted herbs (rosemary, thyme, oregano): bury 5-6 inches deep, closer to the root zone.
- For bigger balcony planters, use two bottles spaced evenly apart so moisture spreads more evenly.
How Long Does the Water Last?
Roughly speaking:
- Hot, sunny balconies (85°F+): 2-4 days per fill
- Moderate weather (65-80°F): 4-6 days
- Cooler or shaded balconies: up to a week
Soil matters here too. Sandy, fast-draining mixes drain a bottle much quicker than richer, moisture-retentive mixes with compost or coco coir.
Common Mistakes to Avoid
- Drilling too many or too-large holes. The bottle empties in hours instead of days, which defeats the whole point.
- Burying the bottle too close to the stem. This can trigger fungal issues or rot right at the crown.
- Using bottles with soapy residue or leftover wine. Rinse thoroughly, since wine residue tends to attract mold and pests.
- Skipping the mesh filter. Soil clogging the neck is easily the #1 reason these setups quit working after a few weeks.
Maintenance Tips
- Rinse bottles every 2 to 3 refills to stop algae from building up, especially if they sit in direct sun.
- In brutal heat, pair the bottle system with a layer of mulch on top of the soil to cut down evaporation even more.
- If you’ve got several pots going, label each bottle by herb type. Refill schedules aren’t the same across species, and it’s easy to lose track.
Bonus: Make It Decorative
Painted or frosted wine bottles double as a rustic little accent for your balcony setup. There’s a functional perk too: colored glass slightly cuts down algae growth by blocking light from reaching the water inside.
Conclusion
A slow-release wine bottle watering system might be the simplest upgrade you can make to a balcony herb garden. It costs nothing beyond bottles you already own, takes under 10 minutes per pot to set up, and keeps your herbs hydrated for days, even while you’re out of town. Whether you’re growing basil for pesto or rosemary for roasting a chicken, this turns something you’d normally toss in the recycling bin into a genuinely useful gardening tool.