Advanced Guide to Grafting Multiple Chili Varieties on One Plant
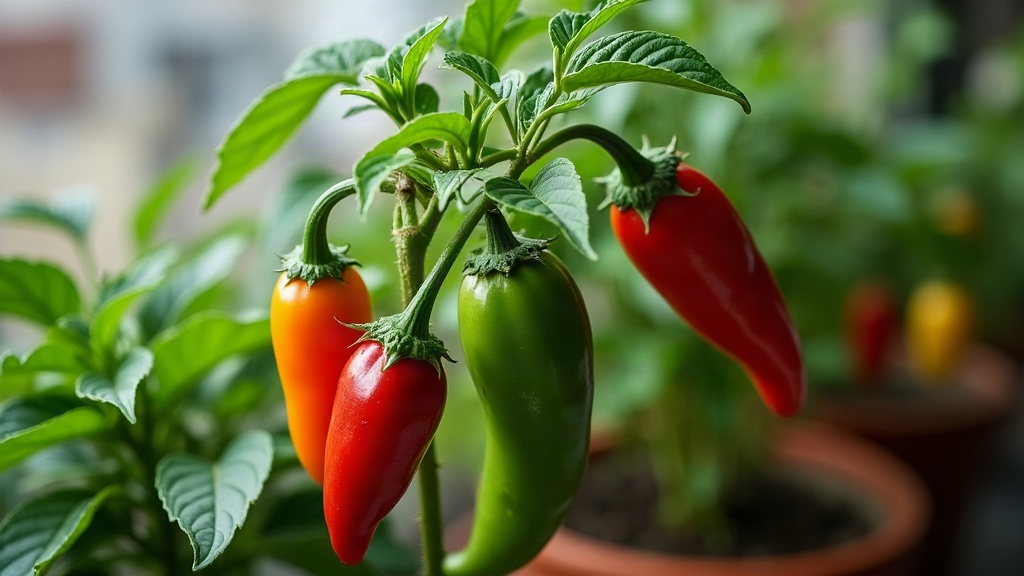
How to Graft Multiple Chili Varieties onto One Balcony Plant
If you’ve ever wished you could grow five different chili varieties without sacrificing your entire balcony, grafting is the answer. This advanced technique lets you combine several pepper cultivars onto a single rootstock. It saves space, gives you a wider spread of flavors and heat levels, and honestly, it makes for a pretty impressive conversation piece once visitors notice five kinds of peppers hanging off one plant. Below is a practical, step-by-step walkthrough for grafting multiple chili varieties onto one balcony plant.
Why Graft Chili Plants Instead of Growing Separately?
Grafting isn’t just a party trick. It solves real, everyday problems for anyone gardening in a tight space.
- Space efficiency: one root system feeds several fruiting tops, so you’re not juggling five separate pots on a balcony that barely fits a bistro table.
- Vigor boost: grafting onto a hardy, disease-resistant rootstock (a robust habanero, say, or a wild Capsicum chinense) often pushes growth and yield well past what the same scion variety would manage on its own roots.
- Experimentation: want to compare a mild Anaheim against a Carolina Reaper on the same plant? Grafting lets you taste-test heat and flavor side by side, in real time.
- Soil-borne disease resistance: a tough rootstock shrugs off wilts and root rot that would wipe out a more delicate, prized scion variety.
Choosing the Right Rootstock and Scions
Not every chili variety makes a good rootstock. You need something vigorous, disease-tolerant, and roughly matched in stem diameter to whatever you’re grafting onto it.
Good rootstock candidates:
- Habanero or Scotch Bonnet types (vigorous, disease-tolerant)
- Wild or semi-wild Capsicum species with strong root systems
- Bell pepper rootstocks bred specifically for grafting (available from specialty seed suppliers)
Scion selection tips:
- Pick scions with stems close to the rootstock’s diameter, pencil-thick, around 3-4mm, is usually about right.
- Match growth stages. Ideally both plants are 4-6 weeks old with 3-4 true leaves.
- For a multi-variety plant, choose 2-4 scions with similar vigor. If one variety grows faster than the rest, it’ll hog the canopy and starve the others of light.
Tools and Materials You’ll Need
- A sharp grafting knife or fresh razor blade (wipe it down with rubbing alcohol first)
- Grafting clips (silicone tube clips or purpose-made pepper grafting clips)
- A humidity dome or clear plastic bag
- A shaded, draft-free spot for recovery
- Rooting hormone (not essential, but it helps the plant bounce back from the stress of being cut)
Step-by-Step: Splice Grafting Multiple Scions
-
Prepare the rootstock. Cut the rootstock stem at a 45-degree angle, roughly 5-8cm above the soil line, just above a leaf node.
-
Cut each scion. Mirror the angle of the rootstock cut on every scion stem. The two cut faces need to match closely, almost like puzzle pieces, so the vascular tissue can actually make contact.
-
Join and secure. Press the scion cut against the rootstock cut and line up the cambium layers (that thin green ring just under the bark) as precisely as you can. Clip it firmly in place with a silicone grafting clip.
-
For multiple varieties on one plant: use a “top-working” approach. Graft one scion onto the main rootstock stem, then let the rootstock throw out a side shoot below that union. Once the side shoot is thick enough, graft a second variety onto it. Repeat this for 2-4 varieties, spacing the grafts out along the main stem and any sturdy side branches.
-
Humidity and recovery. Cover the grafted plant with a humidity dome or clear bag right away. Keep it in indirect light at around 24-27°C (75-80°F) for 7-10 days. Don’t skip this step, it’s the difference between a graft that takes and one that shrivels overnight.
-
Gradual acclimation. Once the graft union has calloused over (the scion stays green, no wilting), ease off the humidity gradually over 3-5 days before moving the plant back to normal balcony conditions.
Common Mistakes to Avoid
- Mismatched stem diameters, by far the number one cause of graft failure.
- Grafting too early, seedlings under 4 weeks old have thin, wobbly stems that just can’t hold a graft union.
- Skipping the humidity dome, scions dry out and die within hours without one.
- Overcrowding grafts, leave at least 10-15cm of stem between unions so vascular flow isn’t choked off.
Caring for Your Multi-Variety Chili Plant
Once the grafts have taken, treat the whole thing as one vigorous plant, not five separate ones. Water according to the rootstock’s needs, feed it a balanced tomato/pepper fertilizer every two weeks, and prune selectively so no single scion variety takes over the canopy and shades out the others.
Conclusion
Grafting multiple chili varieties onto one balcony plant is an advanced move, no doubt, but a genuinely rewarding one. Done right, it turns a cramped balcony into a surprisingly diverse pepper garden. Pick a strong rootstock, make clean matching cuts, and give the plant the patient aftercare it needs, and you’ll end up pulling several distinct chili flavors and heat levels off a single, space-saving plant. Small balcony, big harvest. That’s the whole point.