Air Layering Potted Monstera: Advanced Guide for Bushier Plants
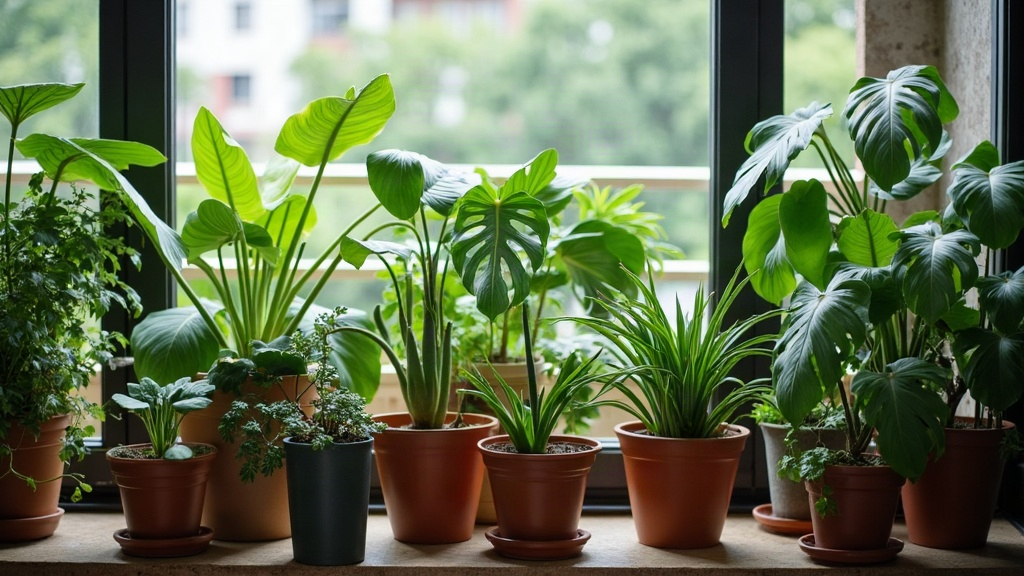
If your Monstera has turned into one of those awkward, top-heavy vines (all bare stem down low, leaves clustered up top like a bad haircut), air layering is the fix. It fills the plant back out and, as a bonus, hands you a completely free new plant. Here’s exactly how to do it on a balcony, when to start, and how to push the mother plant into bushier growth afterward.
Why Air Layering Beats a Simple Cutting
Chopping off the top and rooting it in water is the obvious move, but it means starting from scratch and leaving a bare, sad stem behind. Air layering works differently: roots form on the stem while it’s still attached to the parent plant, drawing on its resources the whole time. That changes the outcome in three ways.
- The mother plant keeps growing and photosynthesizing the entire time, no interruption.
- By the time you actually cut, the new section already has roots. No shock, no guessing.
- Cutting below a node after layering wakes up dormant buds on the remaining stem, and that’s really the whole trick behind a fuller Monstera.
What You’ll Need
- Sharp, sterilized knife or razor blade
- Moist sphagnum moss (skip soil here, moss holds water without rotting the stem)
- Clear plastic wrap or a plastic bag
- Twine, twist ties, or plant tape
- Rooting hormone powder or gel (optional, but it helps)
Step-by-Step: Air Layering a Potted Monstera
1. Choose the Right Node
Find a healthy aerial root or a node (that swollen ring where a leaf meets the stem), somewhere around 3 to 5 leaves down from the top. That’s your future cutting.
2. Make the Wound
Just below the node, cut upward and inward, about a third of the way through the stem, or peel off a thin ring of bark roughly 1cm wide going all the way around. Don’t skip this. The wound is what tells the plant “grow roots here,” otherwise it just calluses over and moves on.
3. Apply Rooting Hormone (Optional but Helpful)
A small dab of rooting hormone in the wound speeds things along, particularly useful if your balcony runs cool.
4. Wrap With Moist Sphagnum Moss
Grab a handful of pre-soaked, well-wrung sphagnum moss. It should feel like a damp sponge, definitely not dripping. Pack a fist-sized ball of it around the wound so the whole area is covered.
5. Seal With Plastic
Wrap the moss ball snugly in clear plastic and tie off both ends with twine or twist ties, basically like wrapping a piece of candy. Keeping it clear matters, it lets you check on root progress without disturbing anything.
6. Wait and Watch
Set the pot somewhere bright but indirect, most balcony spots work fine as long as they’re shielded from harsh noon sun. Check in on it weekly. Roots usually show up somewhere between 4 and 8 weeks, quicker if it’s warm and humid out.
When and How to Cut
Once you can see a proper tangle of white roots filling out the moss ball, not just a couple of stray tips, it’s time to separate the plant.
- Cut cleanly through the stem just below the rooted section.
- Peel back the plastic and moss slowly so you don’t tear the new roots.
- Pot the rooted top into a well-draining aroid mix (bark, perlite, coco coir works well).
- Keep humidity elevated for the first two weeks so it doesn’t go into shock.
The Bushiness Trick: What Happens to the Mother Plant
Here’s the part balcony growers really care about. After you make that final cut above a node, the node right there (and often the one just below it) wakes up and sends out a new shoot. So instead of one gangly stem with a tuft of leaves on top, you end up with two wins:
- A shorter, fuller mother plant with fresh side growth coming in
- A separate, already-rooted plant ready to repot or hand off to a friend
Want maximum bushiness? Repeat the process on a few different stems over the course of a season, just stagger the timing so you’re not stressing the whole plant at once.
Common Mistakes to Avoid
- Skipping the wound step: without it, roots almost never form, no matter how long you wait.
- Getting the moss too wet or too dry: think “wrung-out sponge.” Soggy moss just invites rot.
- Cutting too soon: wait for a real network of thick roots, not just a couple of pale nubs.
- Forgetting aftercare: both the cutting and the mother plant want a bit more humidity and indirect light for a week or two after the cut.
Conclusion
Air layering turns a leggy, top-heavy Monstera into something fuller and better proportioned, and you walk away with a genetic clone of your own plant in the process. A clean cut, some damp sphagnum moss, and a bit of patience is really all it takes. Give it around two months and you’ll see healthier growth on both the parent and its new offshoot.