How to Bring Balcony Houseplants Indoors in Autumn Without Pests
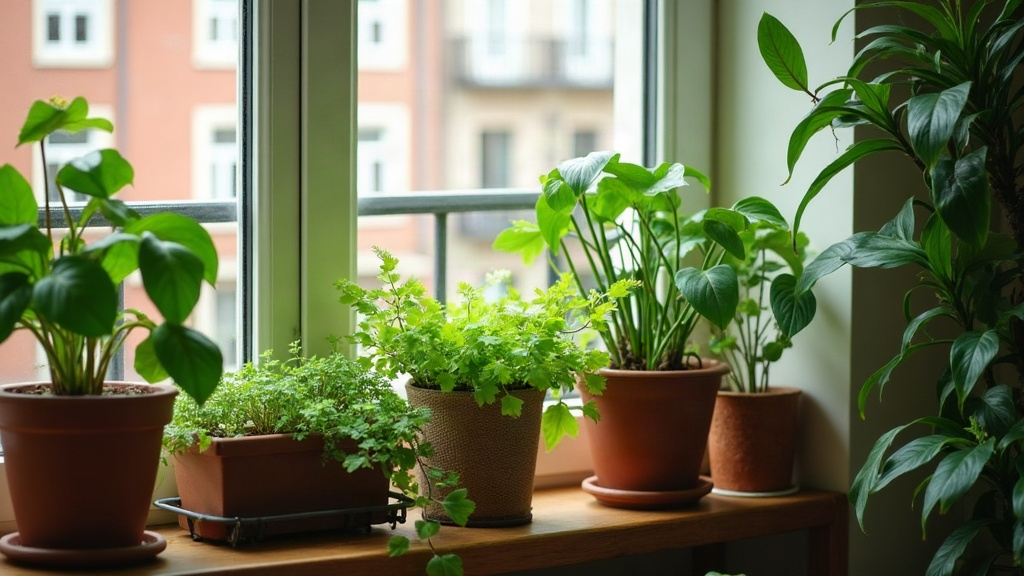
As the nights cool down in autumn, balcony plants need to come inside before that first cold snap does damage. But here’s the thing: rushing this move is exactly why so many houseplant collections end up crawling with spider mites, aphids, or fungus gnats within a few weeks of the transition. This guide walks through a tested, step-by-step method for bringing balcony plants indoors without dragging pests in with them, so your plants settle in safely and your home stays bug-free.
Why Autumn Transitions Invite Pests
Think about what your balcony plants have been through all summer. Months outdoors means exposure to insects, bird droppings, spores carried on the wind, and larvae that burrow into the soil. Out there, ladybugs, birds, and other predators keep populations in check naturally. Bring a plant inside, though, and those predators disappear. Suddenly a few dozen eggs tucked under a leaf or buried in the soil have free rein, and three weeks later you’re dealing with a full-blown infestation on your windowsill.
The most common mistake? Carrying pots straight from the balcony to a windowsill without so much as a glance underneath the leaves. Fifteen minutes of prep now can save you months of fighting pests later.
Step 1: Start the Transition Early
Don’t wait until a frost warning pops up on your phone. Begin the move 2-3 weeks before your area’s typical first-frost date, especially with tropical plants like pothos, monstera, or ficus, which start sulking below 55°F (13°C).
- Look up your region’s average first-frost date and count backward from there.
- Move plants indoors gradually. Start with a few hours a day and add more each day. This eases the shock of the sudden change in light and humidity instead of hitting the plant all at once.
Step 2: Inspect Every Plant Thoroughly
Before any plant gets anywhere near your front door, give it a real inspection, not just a glance:
- Check leaf undersides for aphids, scale insects, spider mite webbing, or that sticky honeydew residue that signals something’s feeding on your plant.
- Check the soil surface for ants, slugs, or small white larvae wriggling around.
- Check the pot exterior and drainage holes. Pests love hiding in cracks or tucked under the rim where you’d never think to look.
- Smell the soil. A sour, rotten odor usually means root rot or fungus gnat larvae thriving in soil that’s stayed too wet for too long.
Grab a flashlight and, if you have one, a magnifying glass. Mealybugs and spider mites are genuinely tiny, and it’s easy to miss them with a casual once-over.
Step 3: Treat Before You Move Indoors
Even a plant that looks spotless deserves a preventive treatment. It’s cheap insurance against a much bigger headache later.
- Hose down the whole plant, leaf undersides included, with a firm spray of water. This knocks loose eggs and insects before they ever get a foothold.
- Wash the outside of the pot with mild soapy water to clear away hidden eggs or fungal spores clinging to the surface.
- Spray with insecticidal soap or neem oil, focusing on leaf undersides and stem joints, then let it dry outside before bringing the plant in.
- Treat the soil, since that’s the number one entry point for fungus gnats. Let the top 2 inches dry out completely, or do a soil soak using a diluted neem solution.
Step 4: Repot If Needed (But Don’t Overdo It)
If the soil smells off, feels compacted, or you notice roots pushing out through the drainage holes, repotting into fresh, sterile mix before the plant comes inside is worth the effort. It clears out:
- Fungus gnat larvae hiding in old, damp soil
- Fungal spores lurking in the soil structure
- Weed seeds or random seedlings that hitched a ride
That said, skip repotting if the plant is already healthy. Disturbing the roots right before a seasonal move just adds unnecessary stress on top of everything else.
Step 5: Quarantine New Arrivals
Here’s the step people skip, and it’s the one that matters most. Even after inspecting and treating a plant, keep it isolated in a separate room, away from your existing collection, for 7 to 14 days. That window gives any eggs you missed time to hatch and show themselves before they spread to every other plant in the house.
Check on quarantined plants every couple of days, looking for:
- Fresh webbing or sticky residue
- Tiny flying insects hovering near the soil (a telltale sign of fungus gnats)
- Yellowing or stippled leaves, which usually points to mite damage
Step 6: Adjust Care for Indoor Conditions
Once a plant has safely made the move, remember indoor air behaves very differently than outdoor air: it’s drier, and light levels drop.
- Cut back on watering. Indoor plants in lower light simply drink less.
- Bump up humidity for tropical species with a pebble tray or a humidifier running nearby.
- Put plants in your brightest window and rotate them weekly so growth stays even on all sides.
Quick Checklist
- ✅ Start the transition 2-3 weeks before first frost
- ✅ Inspect leaves, soil, and pot thoroughly, not just a glance
- ✅ Hose down and treat with insecticidal soap or neem oil
- ✅ Repot only if soil is compacted or smells bad
- ✅ Quarantine for 7-14 days before letting plants join the rest of your collection
Conclusion
Moving balcony plants indoors for autumn doesn’t have to mean handing pests a free pass into your living room. A bit of patience, inspecting each plant, treating it, then giving it a quarantine period, is really all it takes to turn a potentially messy transition into a smooth one. Start early, be thorough about the small stuff, and your indoor jungle should sail through winter without a single infestation to show for it.